In this blog post I’ll share the setup I did installing Azure AD Connection my lab environment (this is a requirement is your testing Microsoft Office 365 federation along with Microsoft Active Directory Federation Services – ADFS).
First Things First
Before installing AzureAD Connect, you should have previously up and running the following:
- Microsoft Active Directory Domain Services (same domain you want to federate with AzureAD);
- Microsoft Active Directory Certificate Services – Certificate Authority;
- Download AzureADConnect.msi from this Microsoft web page;
More details requirements you can check into this Microsoft web page.
I will transcript the benefits within link shared above to provide you why you need to have and use AzureAD Connect in your environment / lab:
Password hash synchronization from on-premises to Azure AD for single sign-on.
A configuration that synchronizes users, groups, contacts, and Windows 10 computers.
Synchronization of all eligible objects in all domains and all OUs.
Automatic upgrade is enabled to make sure you always use the latest available version.
Installing AzureAD Connect
Run the AzureAD Connect into your Windows Server (the one which will be responsible for running this service).
Note: It’s recommended to use a separate server for this configuration.

On Welcome page, just click on Continue.

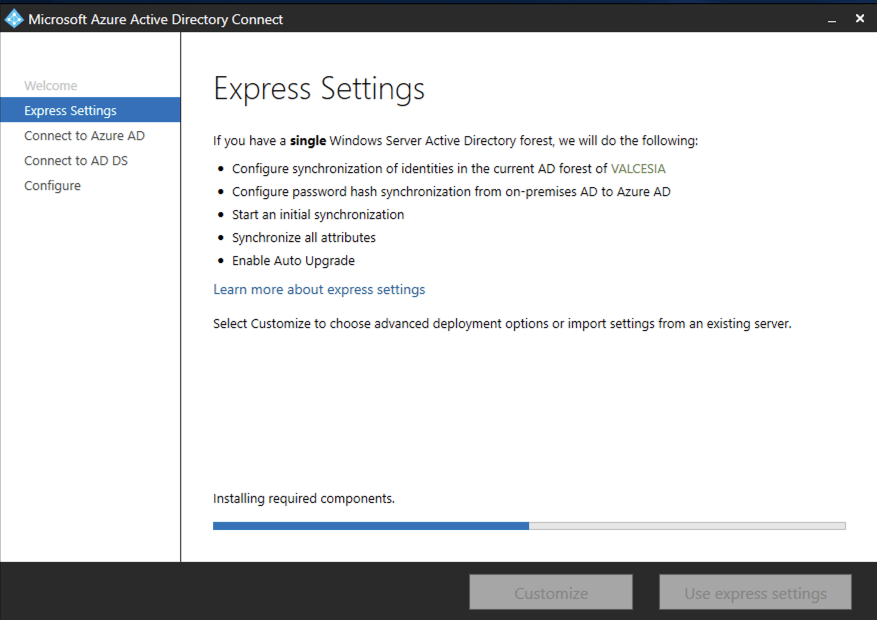
I’ll use Express Settings in my environment, if you need anything different, you can customize it (if you want to).

Installing required components will launch.
Now it’s time to connect to your Azure AD domain. Type your username and password on the required fields.

Server will connecting to the Microsoft Online to verify your credentials.

The Microsoft Page will appear to validate your username and password.

On the Connect to AD DS step, you’ll need to type your username and password from your local Active Directory.
Important: Be aware of that: Username needs to be part of the Enterprise Admins group on your AD!

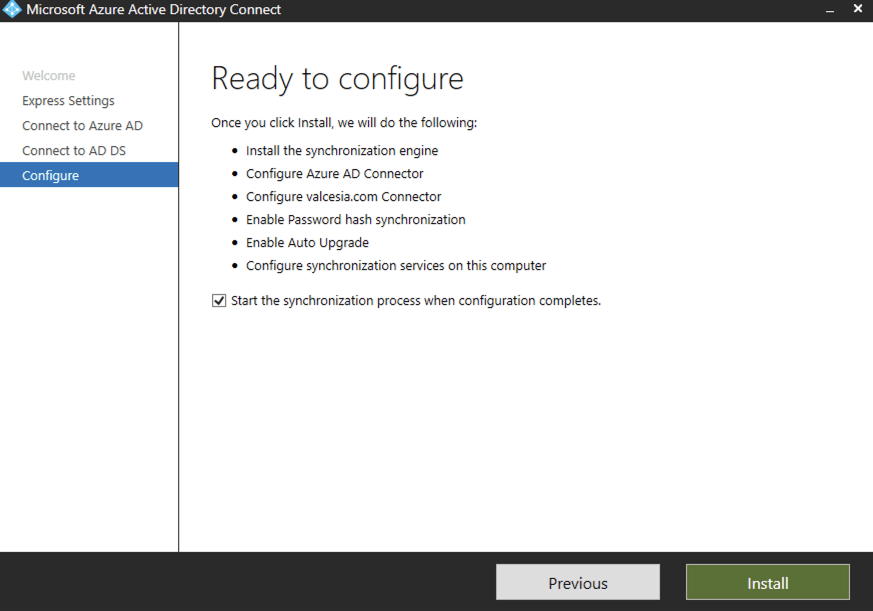
The Ready to Configure page will appear, so let’s hit Install.
Setup will create a LocalDB for configuration.

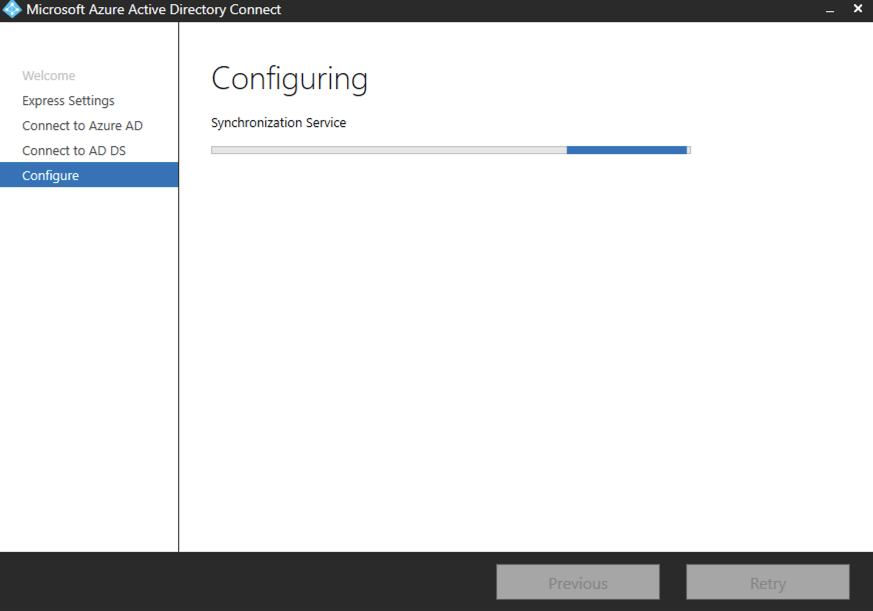
Sincronization Service will start working.
Creating Azure Active Directory Synchronization Account.

Updating synchornization rules from your account.

Installing Azure AD Connect Health agent.

All right, configuration is complete!

Checking into Microsoft 365 Admin Center
Now it’s time to check if you can see your users under Active into Microsoft Admin Center.

As you can see, you’ll get your usernames showing properly as Active on Admin Center side.

Hey wait… I need to use ADFS into my environment / lab. Do I need to do anything else?
Yes! Just follow the next post to check what you need to do after that.
Enjoy the ride.

1 comments on “Getting Start with AzureAD Connect”