I’m a big fan of Workspace One Access, which is part of Workspace One UEM and VMware Horizon licenses. This solution makes our life even better if you or your company is using SaaS based applications, virtual desktop, application virtualization or even internal sites (intranet, SharePoint, etc).
I personally like the quotes coming from VMware Techzone website, which states in simple words what is the main purpose of Workspace One Access:
Workspace One Access is a digital workspace platform that delivers and managers any app on any device integrating access control, application management and multi-platform endpoint management.
You have two options to use this solution, according what is the best for your environment: SaaS or On-Premises.
I’ll use my SaaS environment to describe the steps you need to follow in order to have it working properly into your On-Premises Active Directory domain, your Microsoft Federation (WS-Fed), your Applications using SAML, OIDC, Radius, Token, Device Compliance, VMware Verify, and many other ways to configure it… Yes, we have a vasty ways and forms to accomplish with your use case =o).
1 – Access your Environment
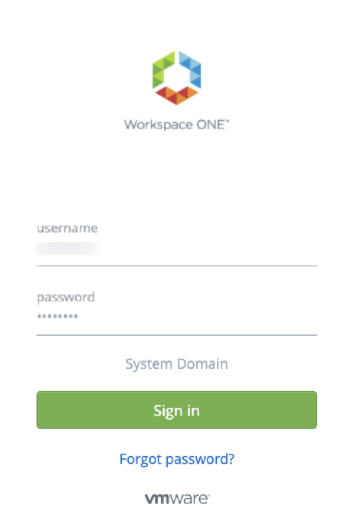
In order to access your Admin Panel, you need to type the following URL:
https://YourEnvironment/SAAS/login/0
Note: Yes, that’s a zero at the end.
Type your username and password.
2 – Install VMware Identity Manager Connector
As you are now logged into your Workspace One Access console, it’s time for you to install your Workspace One Connector. This is required to bind into your Active Directory and sync users into Workspace One Access database.
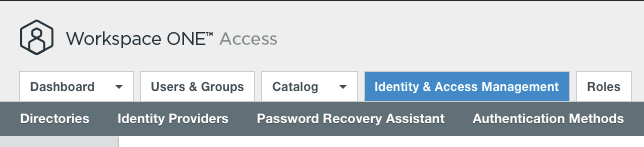
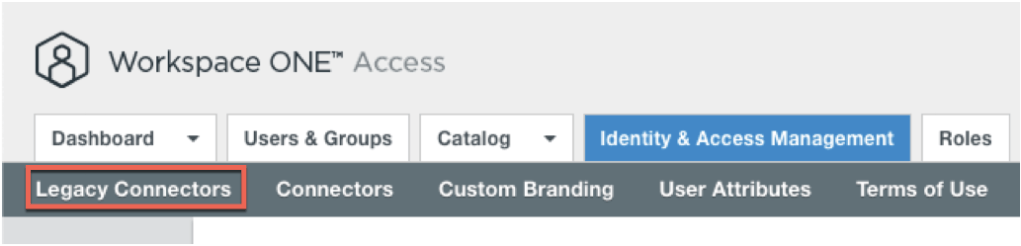
Go to Identity & Access Management tab.
Into top right diagonal, click on Setup.

We have two options to use for:
- Legacy Connector
- If your use case is to publish virtual application or virtual desktop (VMware Horizon or Citrix);
- If your use case is to publish ThinApp applications;
- Connector
- If your use case is not related to the previous commented ones;
Note: In this post, I’ll use Legacy Connector because my future use cases evolves Virtualization scenarios as well.
Select Legacy Connector
I have an Legacy Connector already configure into my Workspace One Access environment, so I’ll add a new one.
Click on Add.

Name your Connector in order to identity it properly and click on Generate Activation Code. This will create a key to be used to sync your Identity Manager Connector with your Workspace One Access, so copy it.

From Workspace One Access side, Legacy Connector will be in “not activated” status until you move to the installation and configuration, but first, check the Server Requirements.

Download VMware Identity Manager Connector
Go to MyVMware site and download the VMware Identity Manager Connector for Windows.

File Name: VMware Identity Manager Standalone Connector Installer for Windows
Server Requirements
You will need to prepare a Windows Server with all the requirements documented into VMware Docs site.
Note: You can create a separate SQL Server for this. If this is necessary for your environment, please check this documentation.
Basically you’ll need:
- Windows Server 2012 R2 or Windows Server 2016;
- PowerShell 4.0 or Later;
- JRE 1.8 Installed (will be installed by VMware Identity Manager Connector);
- RabbitMQ Server (will be installed by VMware Identity Manager Connector);
- Erlang (will be installed by VMware Identity Manager Connector);
- (Recommended) Notepad++;
Note: More detailed information like Firewall Ports, Sizing, Database, please check in this link.
Once it’s downloaded into your Windows Server, please go ahead to run it as an administrator.

Click on next.

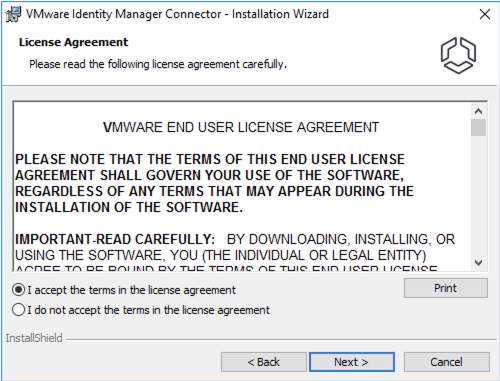
Accept the terms in the license agreement.
You can change the default destination folder if you want to, otherwise click on next.

Migrating a Connector (this is not covered in here, but I’ll make a blog post about it in the future), so click on Next.

On this configuration, check if the server hostname is configured properly.

I’ll run the Connector Service as a domain user account because the following cases are needed in case you’re using:
- Connect to Active Directory over Integrated Windows Authentication;
- Use Kerberos Authentication;
- Plan to integrate with VMware Horizon / Citrix and perform Directory Sync;
Type your username and password (you might use a service account for this).
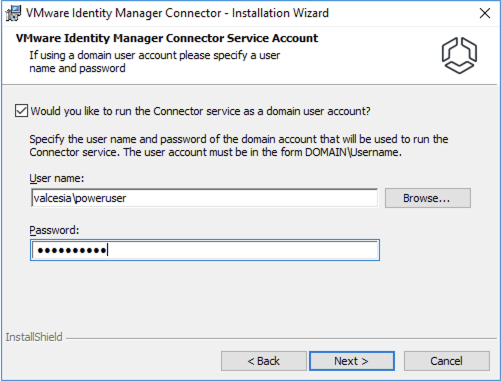
Click on Install.

The VMware Identity Manager Connector will be installed into your Windows Server along with the requirements softwares.

If you followed all the requirements properly, you’ll completed the installation flawlessly.
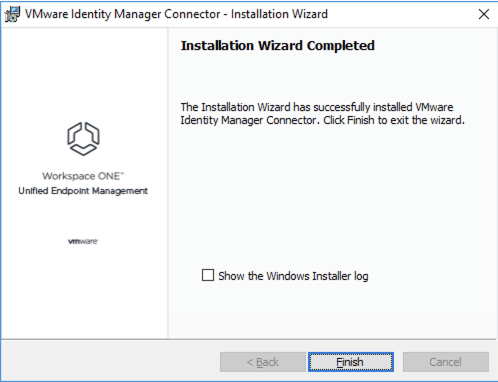
Note: The following message will appear for you, which will automatically open your default web browser in order to start configuring it.

3 – Configuring VMware Identity Manager Connector
You might have the following web page open already but if you close it, just open your default browser and type the following page:
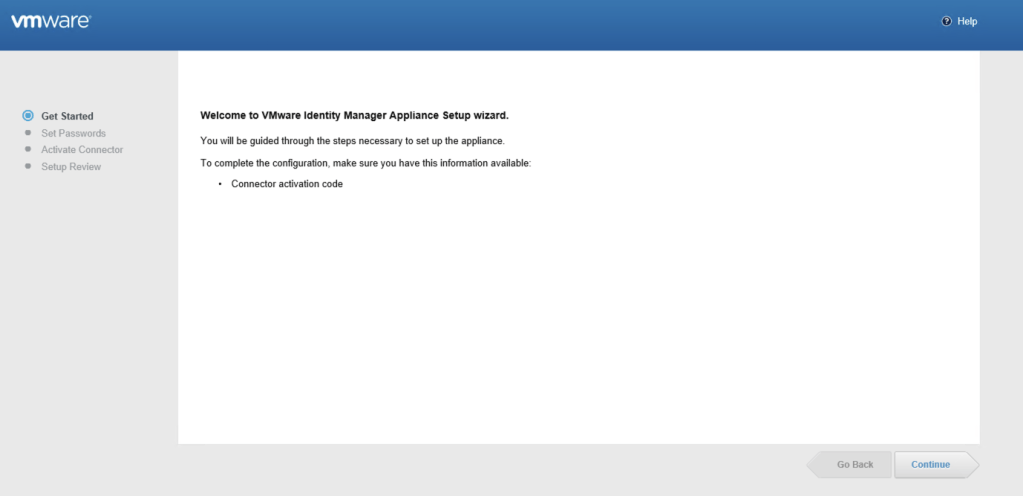
After clicking on Continue, you need to set Passwords into your VMware Identity Manager Connector.

You’ll see the Activate Connector page, which you need to paste the previous key generated by Workspace One Access admin page.

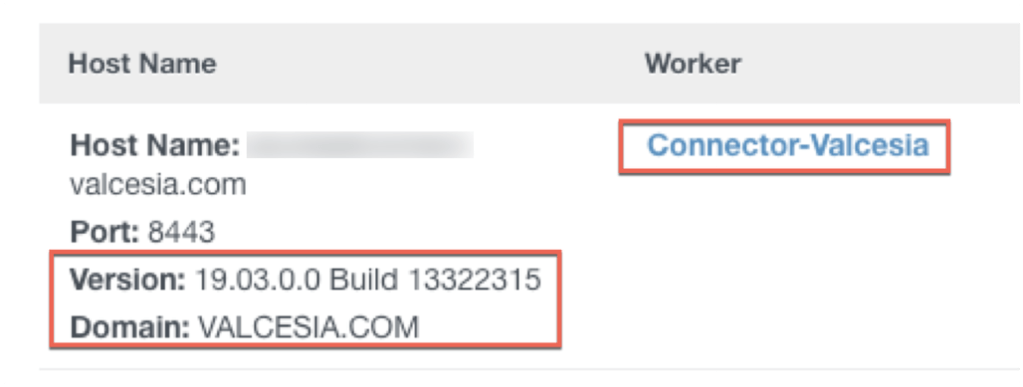
Note: Before continuing with this configuration, please ensure you’re accessing this browser using Server_FQDN address. E.g: https://connector.valcesia.com/8443.
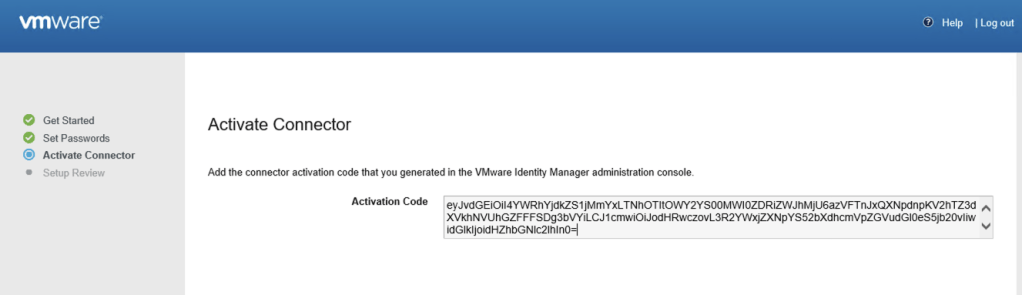
Activation phase will be running at this moment.

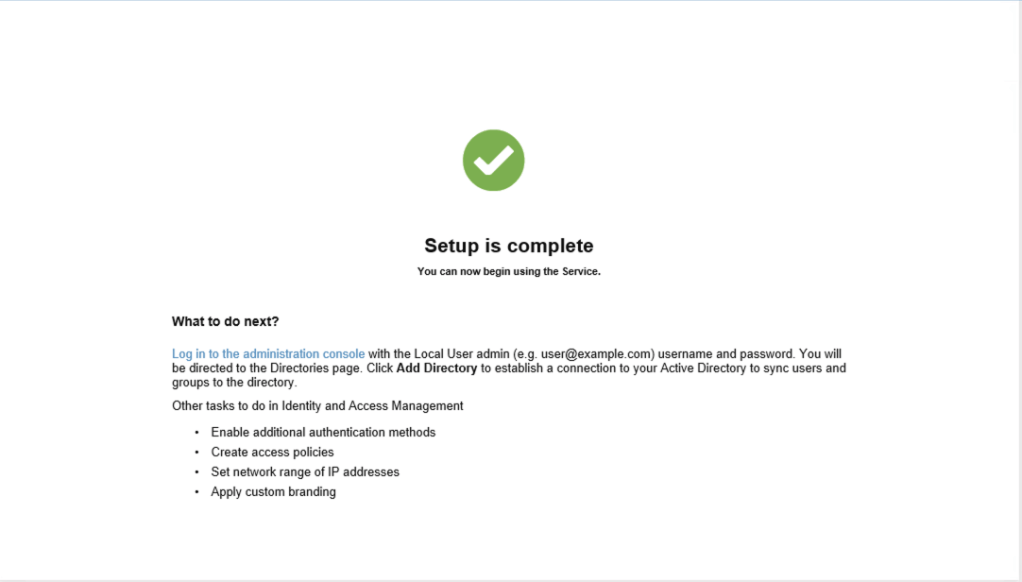
Congratulations! You’ve achieve the complete setup from Workspace Identity Manager Connector side.
4 – Configuring Domain into Workspace One Access
Go back to the Workspace One Access admin panel. If you followed all previous steps, you can see the Legacy Connector Activated and your domain will be available for configuration steps.
Your next step is to bind Active Directory in order to authenticate and authorize your users to access it.
Select Identity & Access Management tab.
Now select Add Directory along with Add Active Directory over LDAP/IWA.

Note: There are differences when adding Active Directory Environments, where you can understand them clearly with this VMware Docs.
Type your Domain FQDN into Directory Name, which is a good way for your do organize your environment.
Select the Sync Connector (the FQDN one which we installed).
Select Directory Search Attribute ad sAMAccountName.
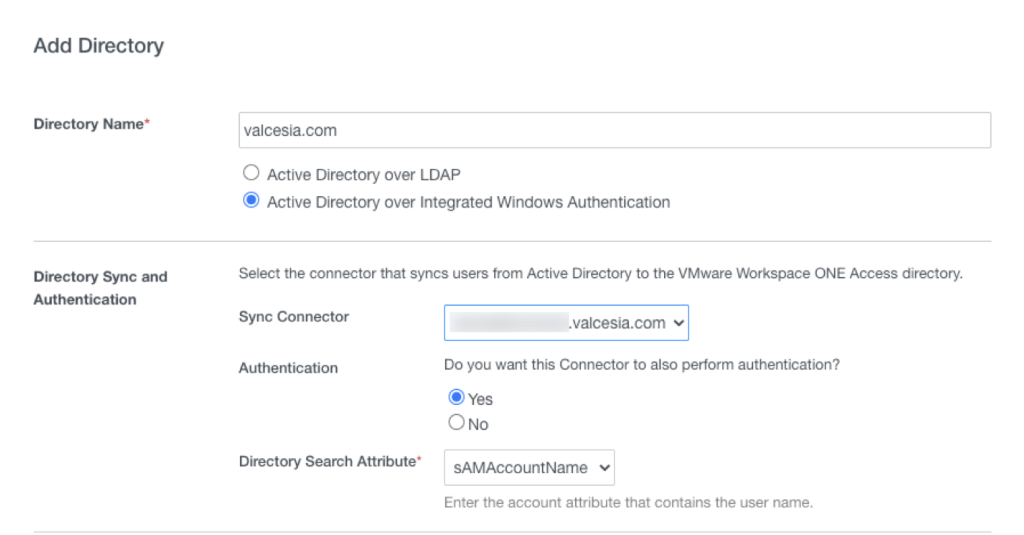
At the bottom part, just put your bind user details using sAMAccountName format and password.

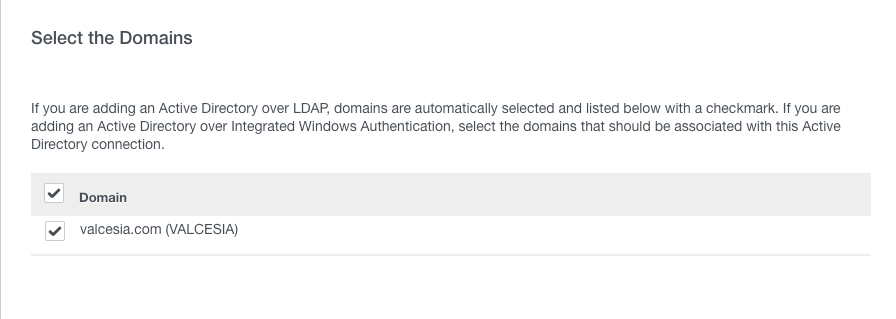
After a couple of seconds, Workspace One Access will get the Domain (or domains if you have more then one configured into your environment).
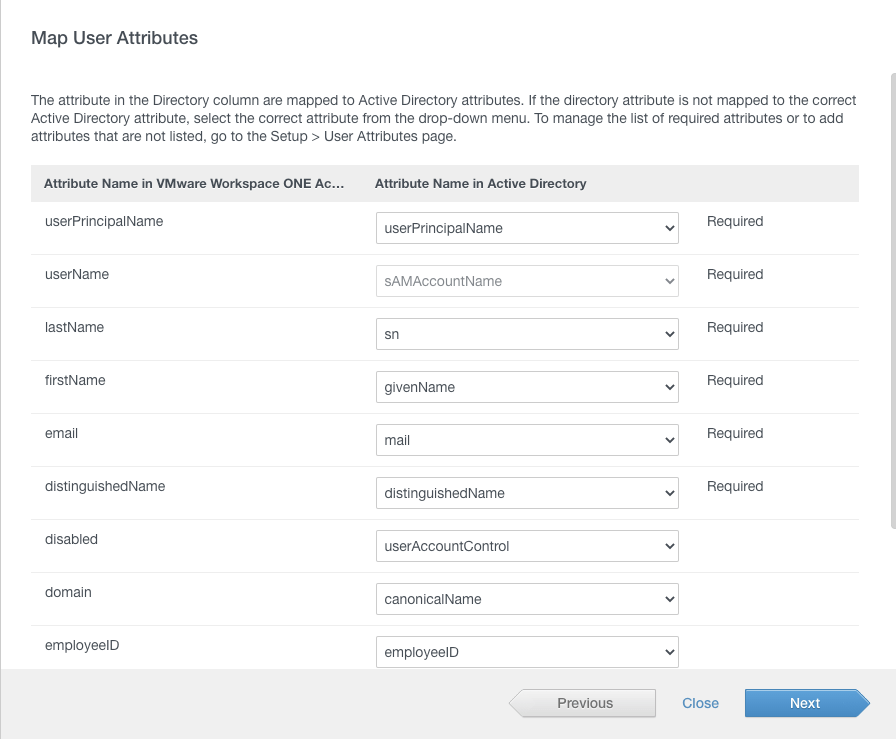
On next page, you will see the Attributes Names in Active Directory to be used.
Important: If you’re going to use Microsoft Office 365 in your use case, you’ll need to add ObjectGUID along with UserPrincipalName attributes. Now, if you’re using VMware Workspace One Access On-Premises installation, you’ll need to configure it before moving forward with this domain bind steps.
You can add a Group DNs to sync all users for your PoC or Production environment. I strongly recommend you to create a group for that. It save times and is better for management perspective.
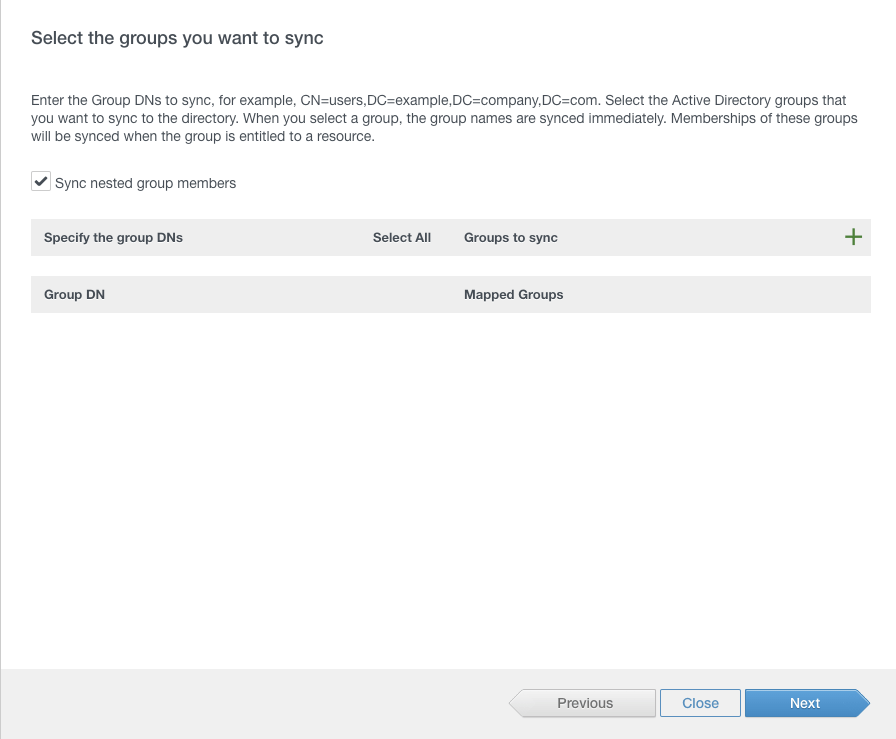
You can add Users DNs as well, in my case, I’ll use only two so I’ll move forward with this configuration.

You can see the Add solutions counting 1 user (Service User will be added along with Power User from my side, that’s why it’s showing only one to be added).

At this moment, depending on how big is your Active Directory, this steps can take a couple of minutes for syncing users to VMware Workspace One Access database.

To check if you have the users or groups synced, just check under User & Groups tab. You can also search users as well.
5 – Configuring Password (Cloud deployment)
One important step sometimes forgotten, is to configure the Password Cloud Deployment mode to be used on Workspace One Access. This is the best way to use with all Cloud Services and also On-Premises solutions.
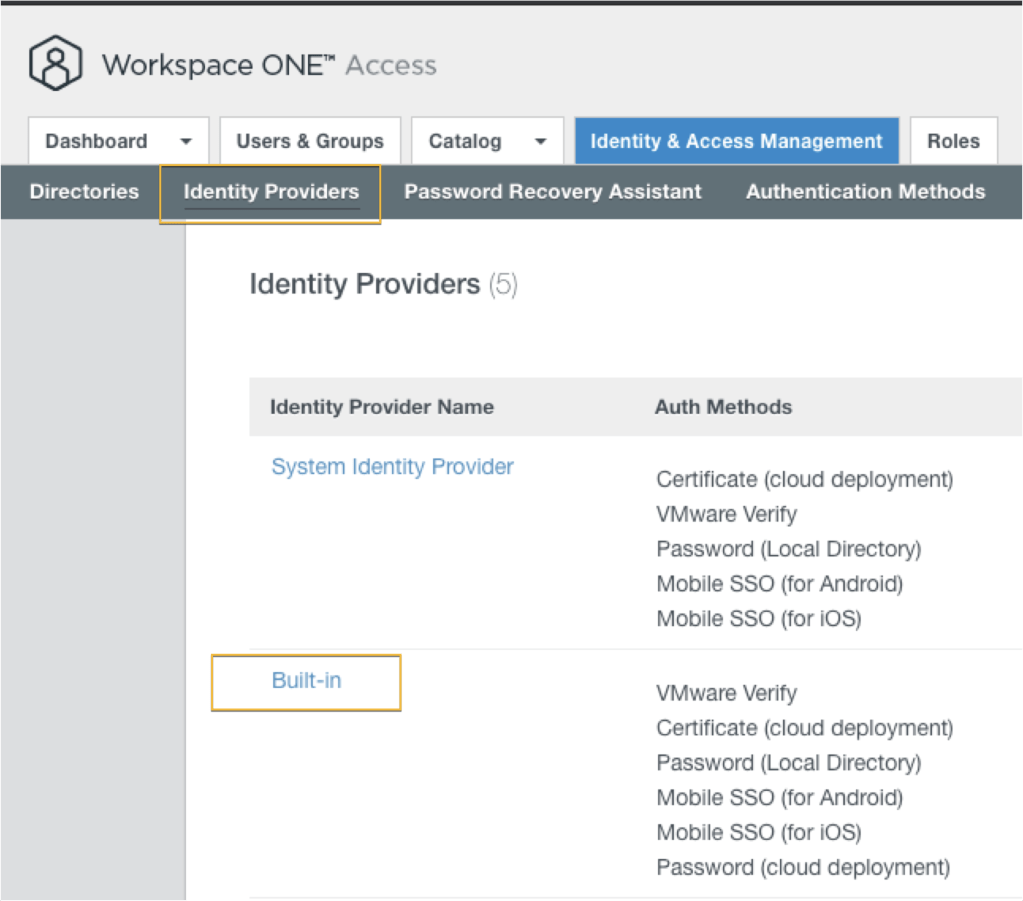
Go to Identity & Access Management tab and click on Built-In.
(1) Select your Domain (which was configured in the previously step).
(2) Add your Connector.
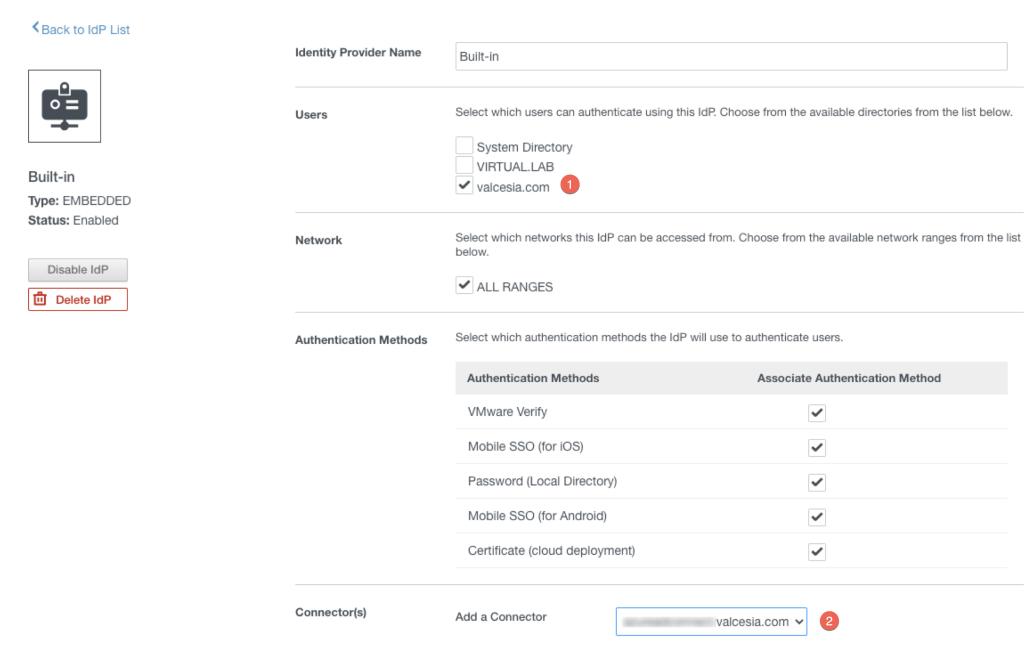
(3) Click on Add Connector.

(4) The Password (Cloud deployment) will appear. Click on Associate Authentication Method.
(5) Click on Save button.

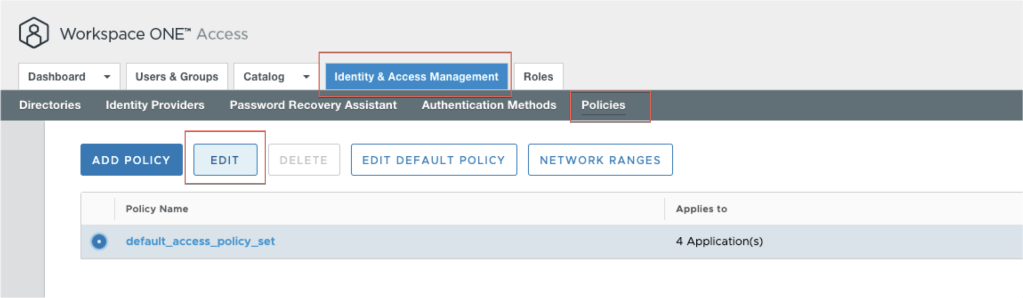
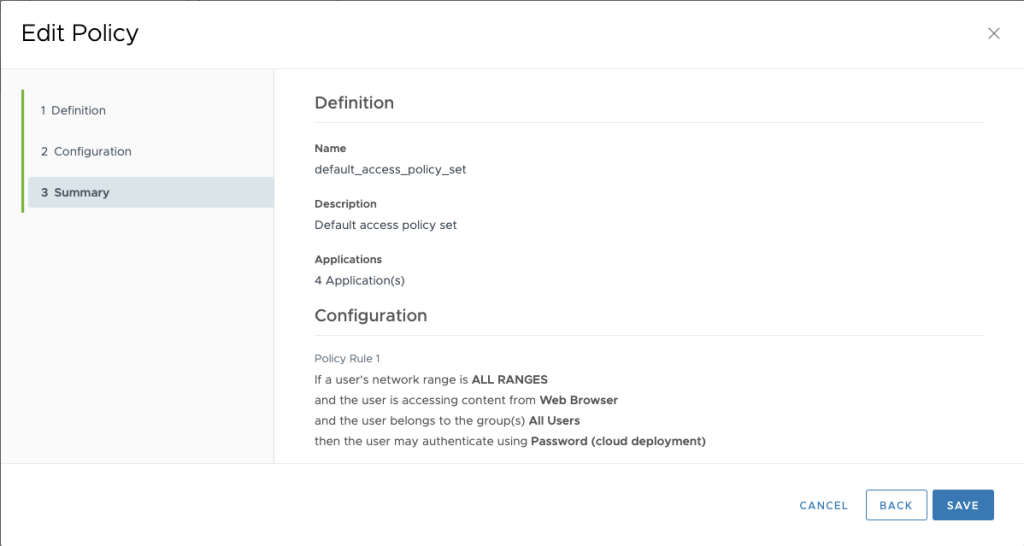
Now to go the Identity & Access Management tab, and edit your policy.
Click on Next.
Select ALL RANGES option from the Device Type you would like to edit it. In my case, I’ll select Web Browser one.
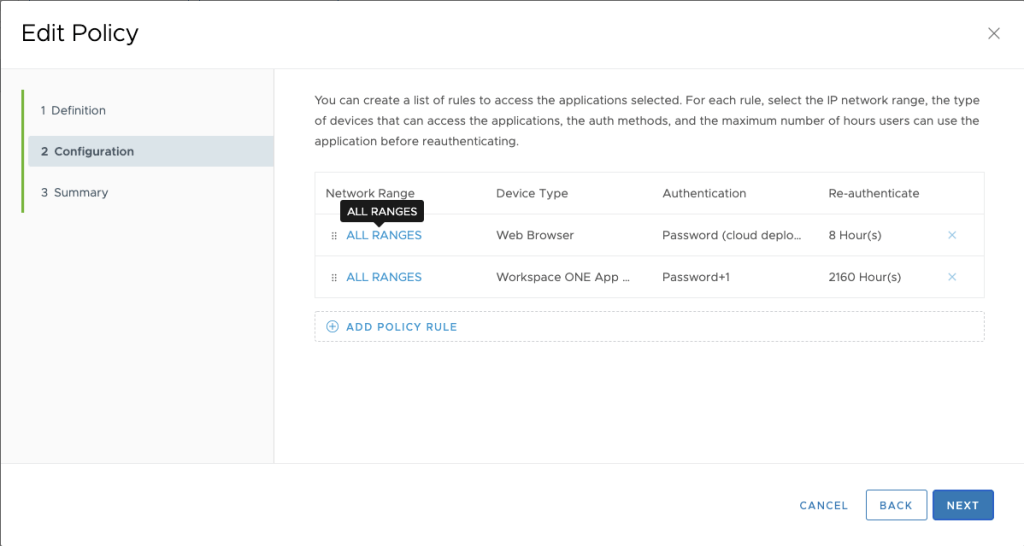
Change to Password (Cloud deployment) to use this as the standard authentication method.

Save it and click on Next.

Save it.
6 – Testing Time
Logout from the Admin Panel.

I’ll test my access using one the service accounts I synchronized, that’s a great way to test from your side as well.
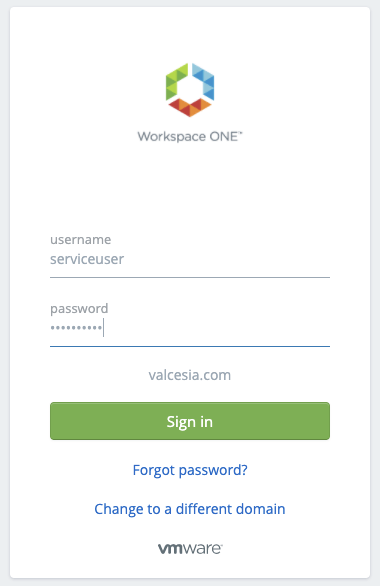
After typing username and password properly, you can see the page with some services (or none if you didn’t configured yet).

Congratulations! If you’ve followed all the steps, you’re right on track to discover the great Workspace One Access.
Enjoy the ride!

2 comments on “Getting Starting with Workspace One Access”