I was having a conversation with a customer during a PoC and one requirement was keeping using Google Authenticator as a MFA when shifting Workspace ONE Access over the current solution.
I told my customer we can configure Google Authenticator with RADIUS but when I checked VMware documentation, there’s not a step by step on how to make that work but configuring RADIUS on Workspace ONE Access only.
Based on this, I create this Blog Series exploring how to configure RADIUS and Google Authentication along with VMware Workspace ONE Access.
I encourage you to check the following Blogs as well, and check other ways to configure your RADIUS server (isolated from my use case or if you’re looking for VMware Horizon integration):
https://www.evengooder.com/2018/04/providing-two-factor-authentication-for.html
Let’s start with the basic step:
RADIUS SETUP
I chose my CentOS 8 Virtual Machine to configure my RADIUS (Remote Authentication Dial-in User Service). I know CentOS future is changed based on latest news coming from Red Hat but, this is my preferred Linux Distribution so, I’ll follow this configuration using it (And yes, you can pick your Linux and basically follow the same steps:
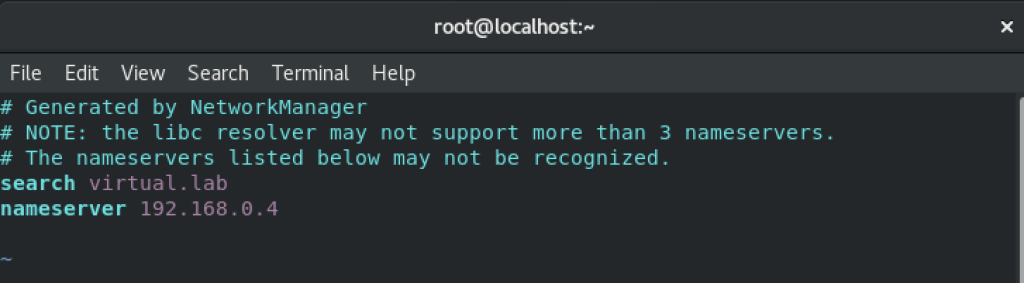
First of all, I need to make sure my CentOS is able to communicate with my Active Directory (virtual.lab) and DNS.
Open /etc/resolv.conf

Type your domain and DNS ip address. Save it afterwords.
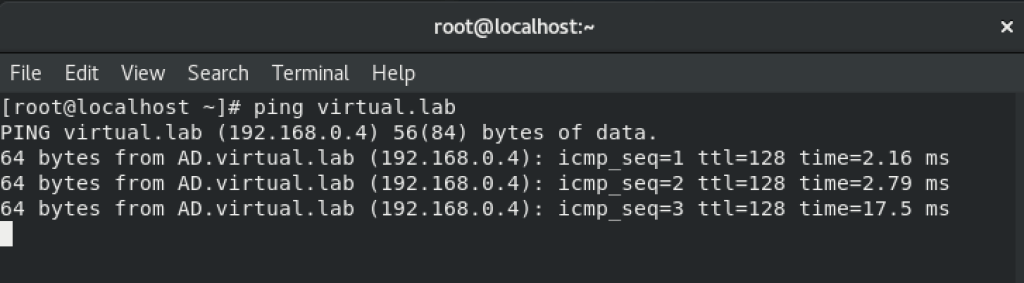
You can test (ping) to make sure you can communicate with your Active Directory with no problems.
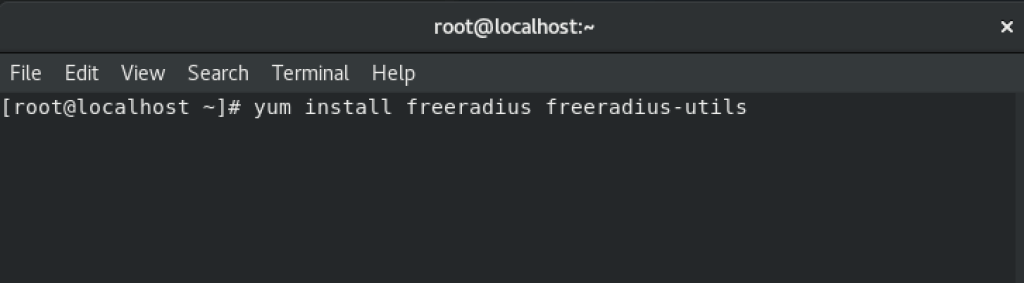
Packages to be used on this setup
First I start installing freeradius ones:
yum install freeradius freeradius-utils
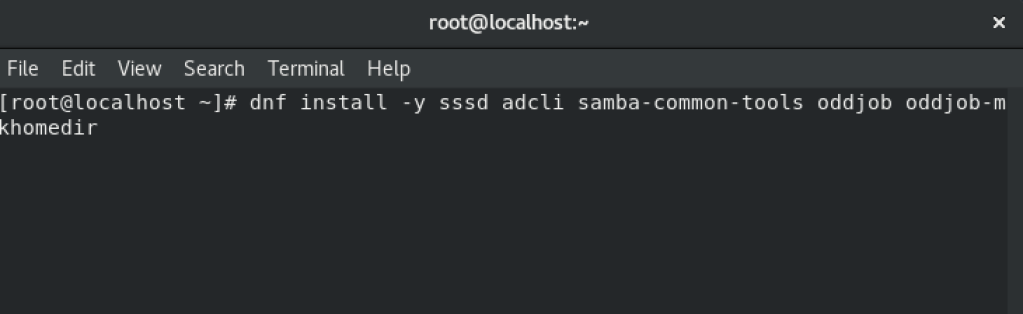
For domain join, I just installed the following ones:
dnf install -y sssd adcli samba-common-tools oddjob oddjob-mkhomedir
Yes, I forgot some other packages needed for domain join, so here we go:
yum install samba-winbind samba-winbind-clients realmd

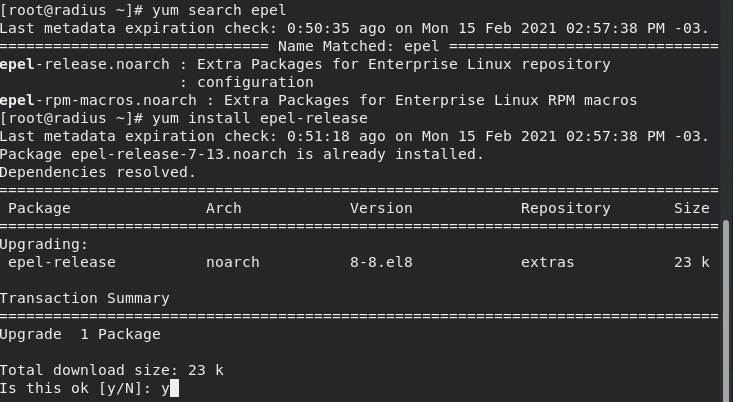
Note: If you’re using CentOS release 8.3, you may need to install Epel as well (this is a requirement to use Google Authenticator):
Add epel respository:
yum search epel

yum install epel-release
RADIUS Configuration
Once you installed all packages, it’s time to enable Pluggable Authentication Modules (PAM).
vim /etc/raddb/sites-enabled/default

You just need to search for pam
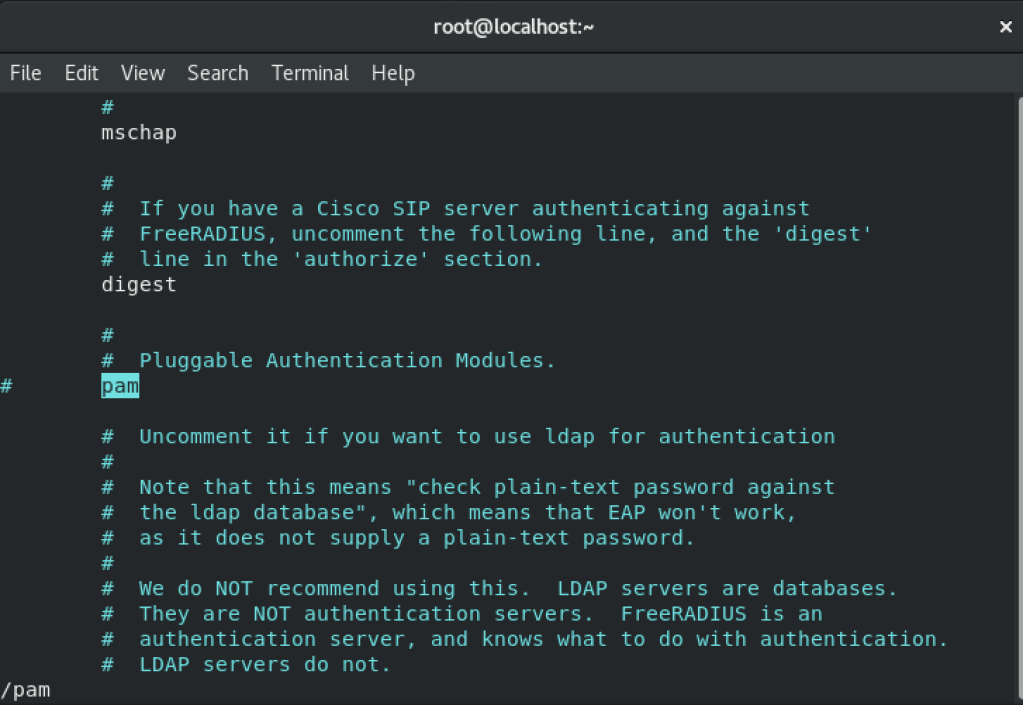
Uncomment (removing # sign) in front of PAM. Save it afterwords.

Now it’s time to enable PAM configruration using this command:
ln -s /etc/raddb/mods-available/pam /etc/raddb/mods-enabled/pam

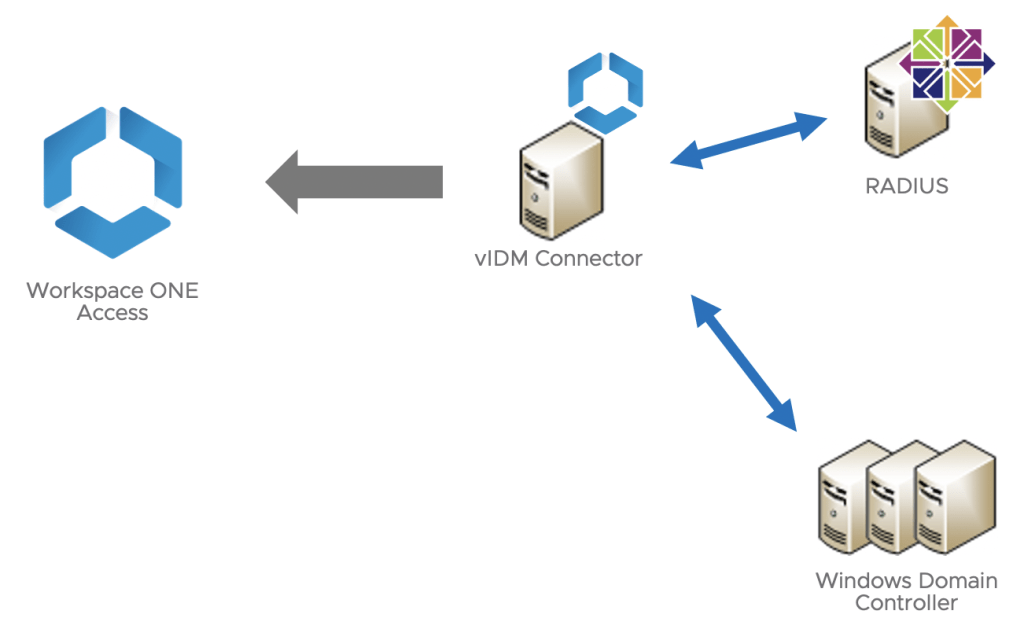
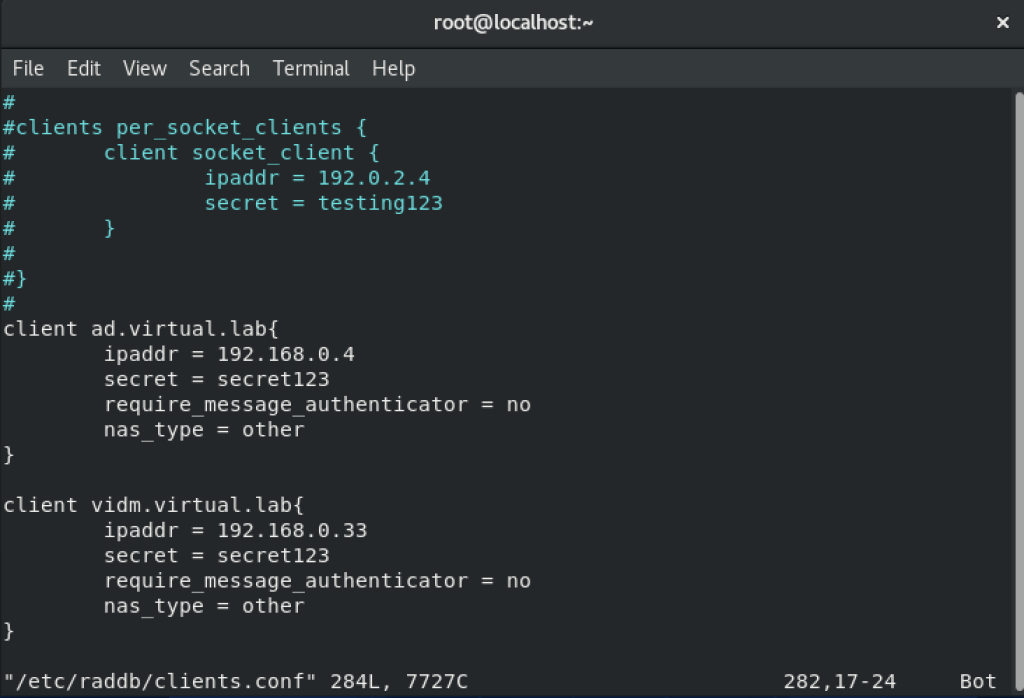
Moving forward, it’s time to update clients.conf with the services which will consume RADIUS service. In my case: vIDM Connector (for Workspace ONE Access) and Connection Server (for VMware Horizon).
vim /etc/raddb/clients.conf
Go to the bottom page and configure using the same way I created mine (see picture below). Save it afterwords.
Note: vIDM Connector is the responsible to communicate with RADIUS server.
Now it’s time to configure RADIUS authentication security information for users:
vim /etc/raddb/users
Search for DEFAULT
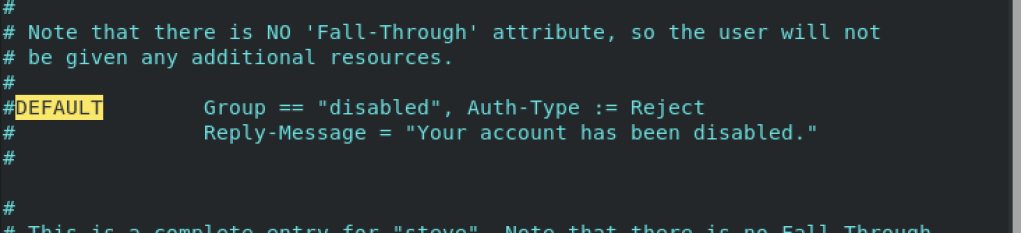
Change it according picture below (adding DEFAUL Auth-Type:= PAM and removing # sign from DEFAUL Group and Reply-Message).
Don’t forget to save it afterwords.

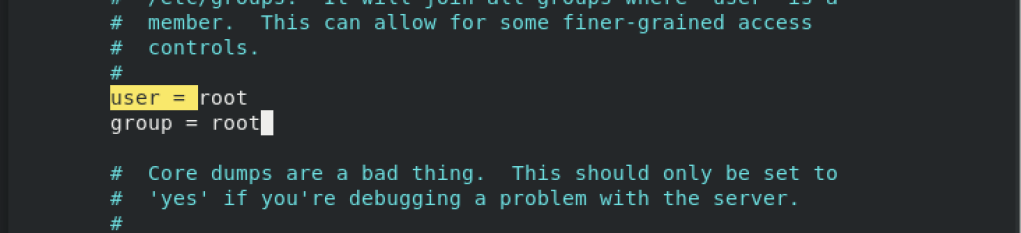
Now it’s time to configure user and group from radiusd.conf file:
vim /etc/raddb/radiusd.conf
Search for user or group

Change it from radiusd to root. Save the file.
Set Radiusd service to enable:
systemctl enable radiusd

As we’ve done some configurations, we need to restart RADIUS service prior testing:
systemctl restart radiusd.service

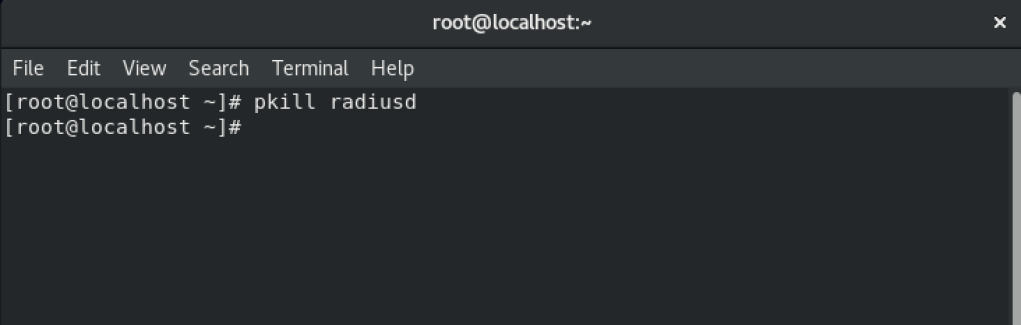
Kill radiusd service execution prior launch this service:
pkill radiusd
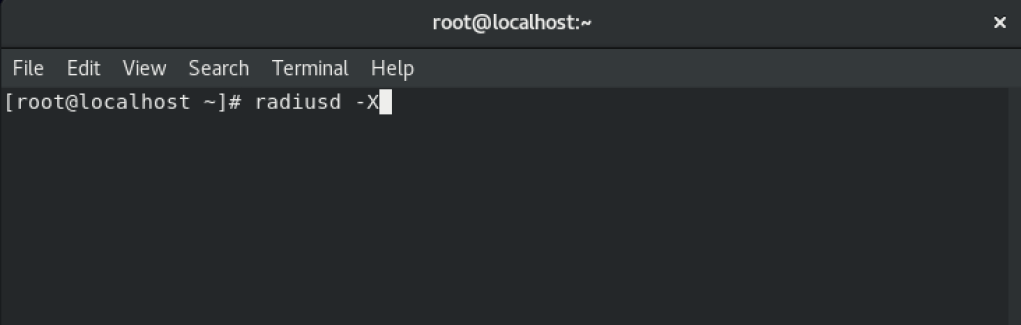
And start RADIUS in Debug mode (which can help you during troubleshooting):
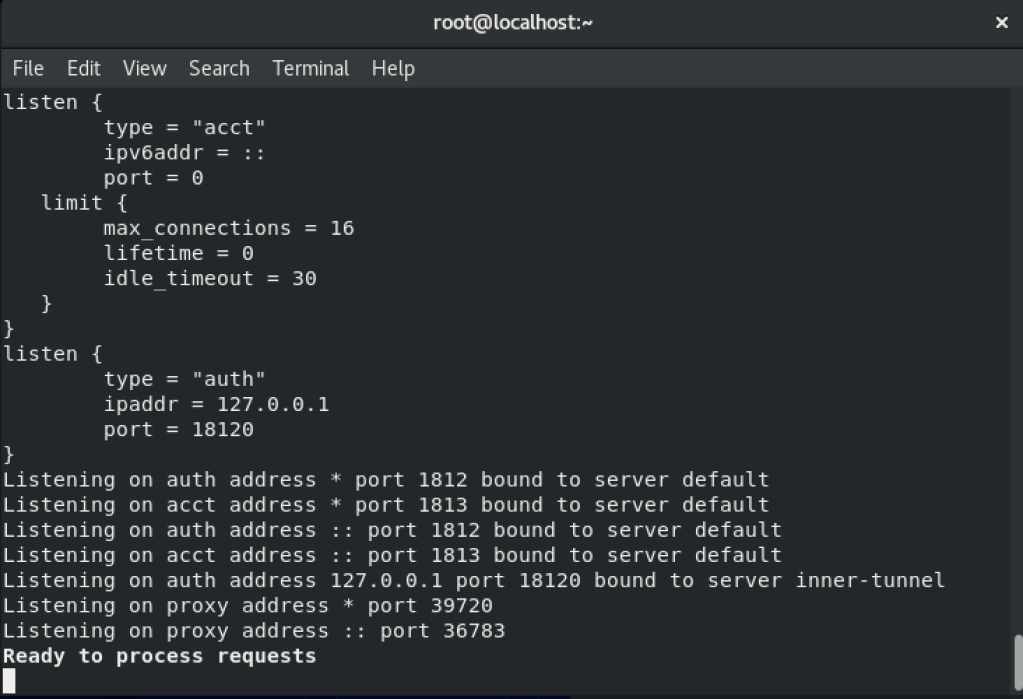
radiusd -X
You will see all RADIUS requests appearing.
It’s time to test RADIUS
Let’s first create a local user. In my case I created valcesia user (what a creative, isn’t it?).
Tip: Open another terminal window for testing purpose using local user
adduser YOURUSERNAME
passwd YOURUSERNAME

I’ll use radtest in order to verify everything is working properly from RADIUS side
radtest USERNAME PASSWORD localhost 0 testing123
Note: “testing123” is the currently secret configured under clients.conf. Check if yours is like mine or, change it to the correct one.
If everything works fine, you can see the “Received Access-Accept” message, which means your username and password / secret worked.

Configure RADIUS server to Join Domain
Let’s start configuring a hostname to your server:
hostnamectl set-hostname SERVER.FULL.DOMAIN
Note: It’s a best practice to create into your DNS domain a Host A and a PTR to your RADIUS server. This can save some problems during your test.

Note: Depending on Active Directory version, you might face problems due to common encryption types. To avoid that, enable RC4 support in CentOS:
update-crypto-policies –set DEFAULT:AD-SUPPORT

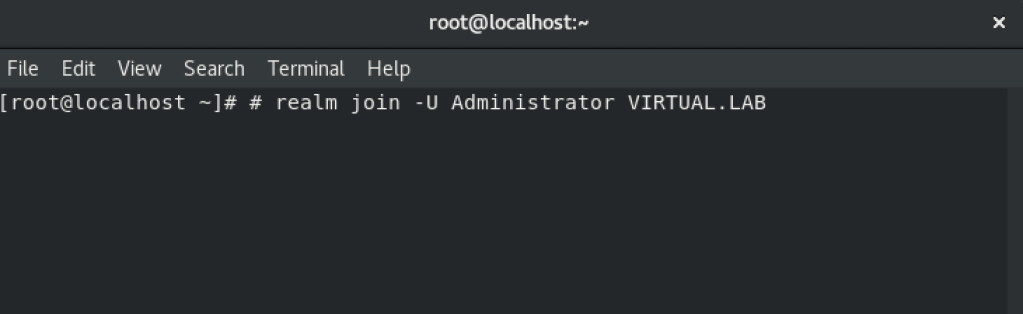
Join domain using realm:
realm join -U DOMAINUSERNAME FULL.DOMAIN
Use realm discover to check if you can communicate with your Active Directory
realm discover -vvv FULL.DOMAIN

All right, so at this moment your RADIUS server is part of your domain and ready to search for domain users / groups.
So far, you’ll need to type your username FQDN to login (e.g: serviceuser@virtual.lab).
To avoid this, I will update SSSD file to change this behavior:
vim /etc/sssd/sssd.conf
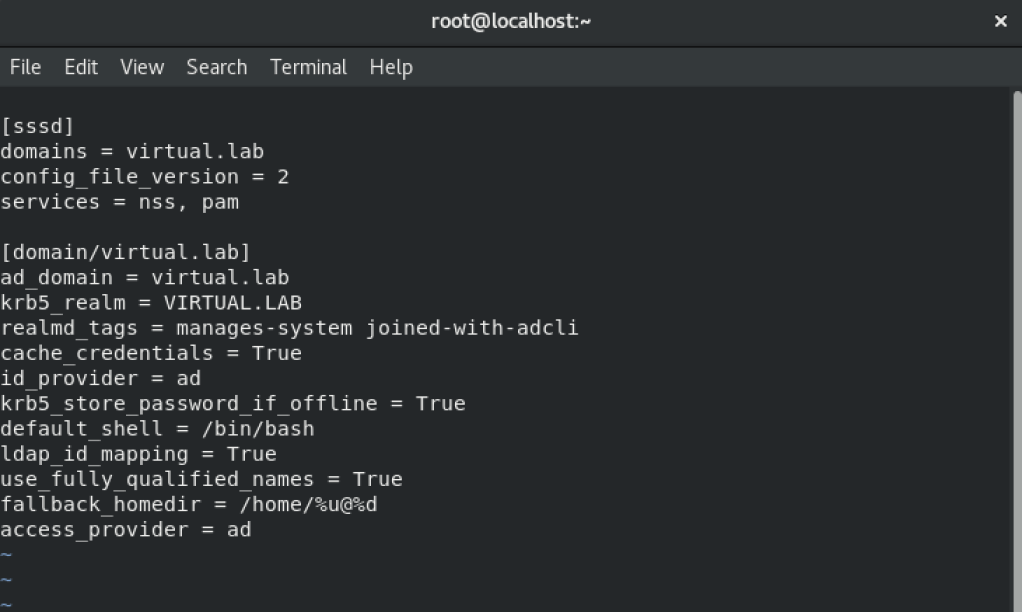
There’s a line which we need to change: use_fully_qualified_names
Change it from True to False

For testing, it’s time to restart sssd service:
systemctl restart sssd.service

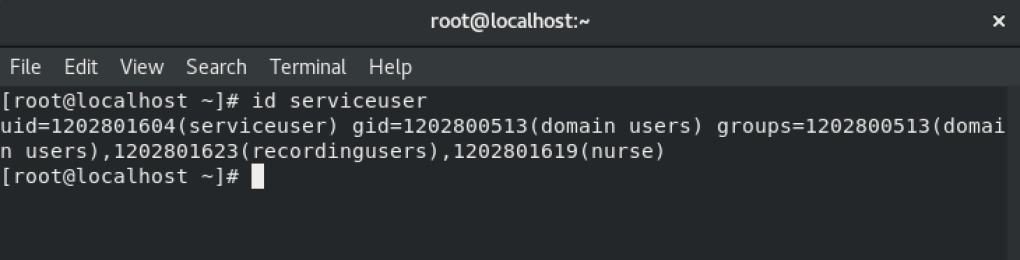
Now test your domain username (in my case without serviceuser only – and not serviceuser@virtual.lab):
id USERNAME
Install and Configure Google Authenticator
Now it’s time to install and configure Google Authenticator along with RADIUS server.
First things first, let’s check if Google Authenticator package exists:
sudo yum search google-authenticator

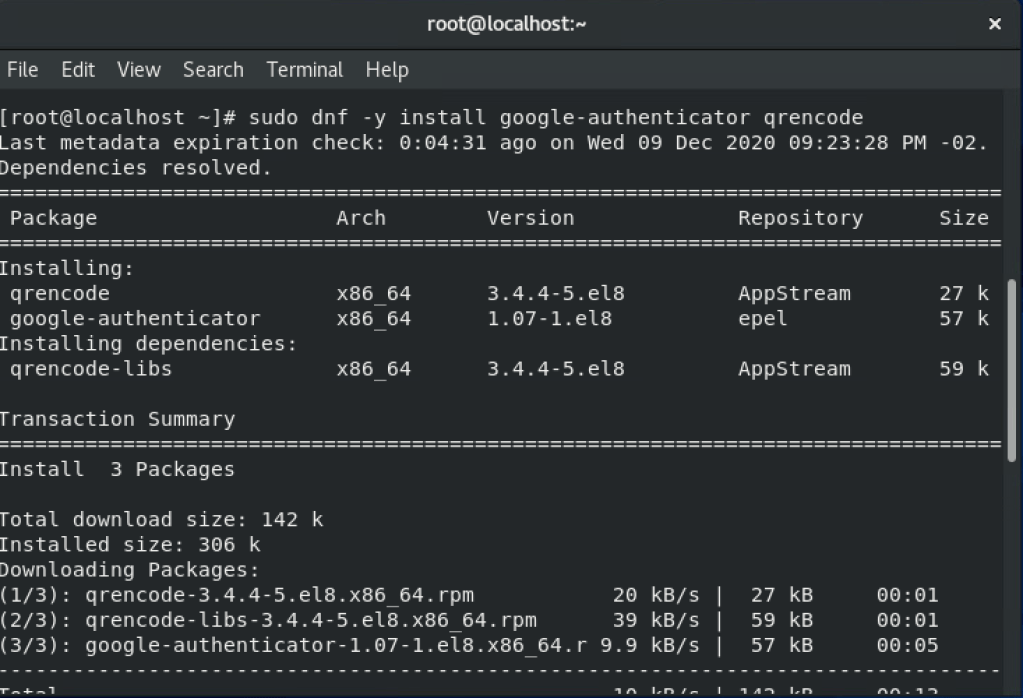
In my case I need to install it so:
sudo dnf -y install google-authenticator qrencode
Check if the installation went well:
rpm -qi google-authenticator

Configuring Radius to use Google Authenticator
Edit the following file to configure properly Radius to use Google Authenticator:
vim /etc/pam.d/radiusd

You need to change it according my screenshot below to the bottom options:
auth required pam_google_authenticator.so forward_pass
account required pam_unix.so use_first_pass

Save it afterwords.
Now, you need to restart radiusd.service:
systemctl restart radiusd
Now Log as your AD User
At this point, we need to create google-authenticator code to the user which will be used in our test. There’re ways to automate this configuration but will be not covered on this post. So, log in using your Active Directory domain user:
su – USERNAME

Create google-authenticator:
google-authenticator

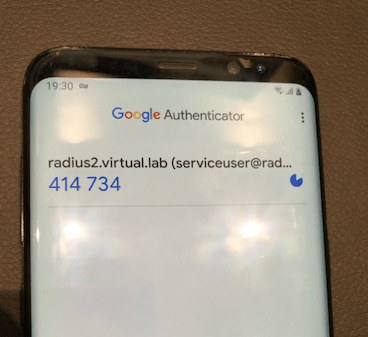
As we installed of of the packages responsible to create QRCode, you can scan using your Google Authenticator just pointing to this Code (and yes, this is not showing up completely).
Note: You’ll need to download Google Authenticator from your App Store / Play Store. Take this moment to make this (if you haven’t done yet).
Note 2: There is a way to type secret key as well instead of scan (optional).

Some questions will come up. I answered YES (y) to all of them. You can check the ones and maybe change your answer:
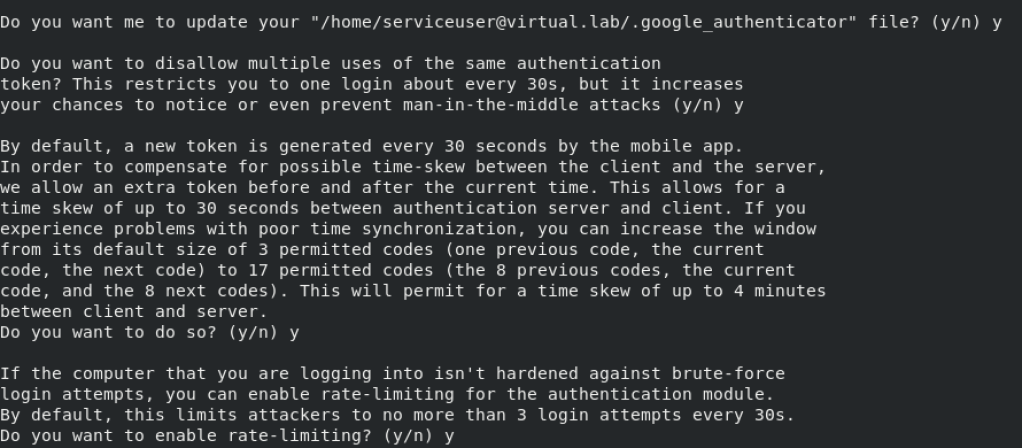
As soon you’re all done with the questions, your mobile phone will look like the following:
Configuring SSH to use Google Authenticator
In order to configure PAM properly to our use case, it’s time to change some pre-defined configs:
vim /etc/pam.d/sshd

This is how is configured by default. Yours should be similar to this:
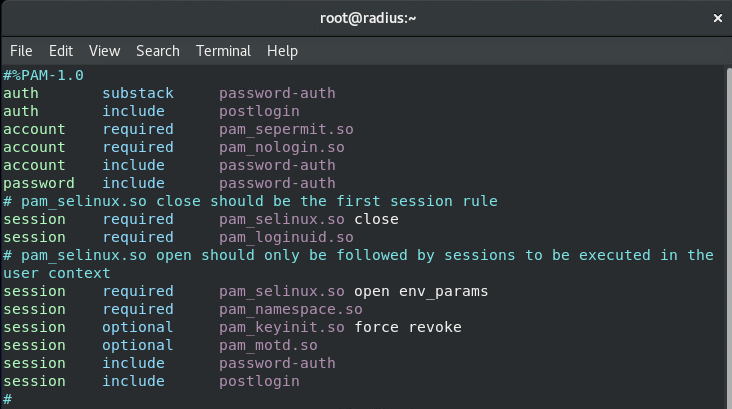
You need to add to the bottom of this file the following:
auth required pam_google_authenticator.so
auth required pam_permit.so

Save this time.
Now, it’s time to configure the following file to accept challenge used by Google Authenticator:
vim /etc/ssh/sshd_config

Default configuration will be like this one:
ChallengeResponseAuthentication no
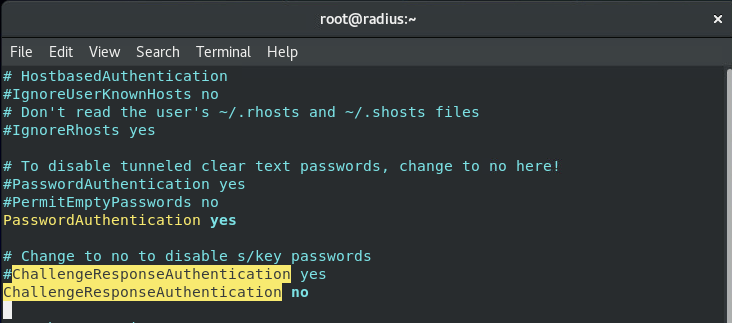
You’ll need to change it to yes:
ChallengeResponseAuthentication yes

Save it afterwords.
Restart the sshd.service
systemctl restart sshd

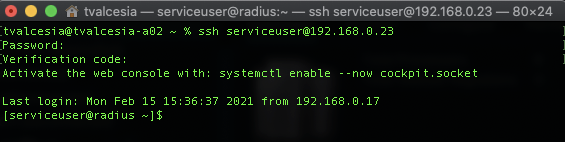
Test it out: When you try to ssh on this radius server, will be required to type your password followed by Verification code (Google Authenticator).
Testing with RADTEST
Let’s use radtest to make sure everything is working properly. The command for testing will be:
radtest <username> <accesscode>localhost 0 testing123
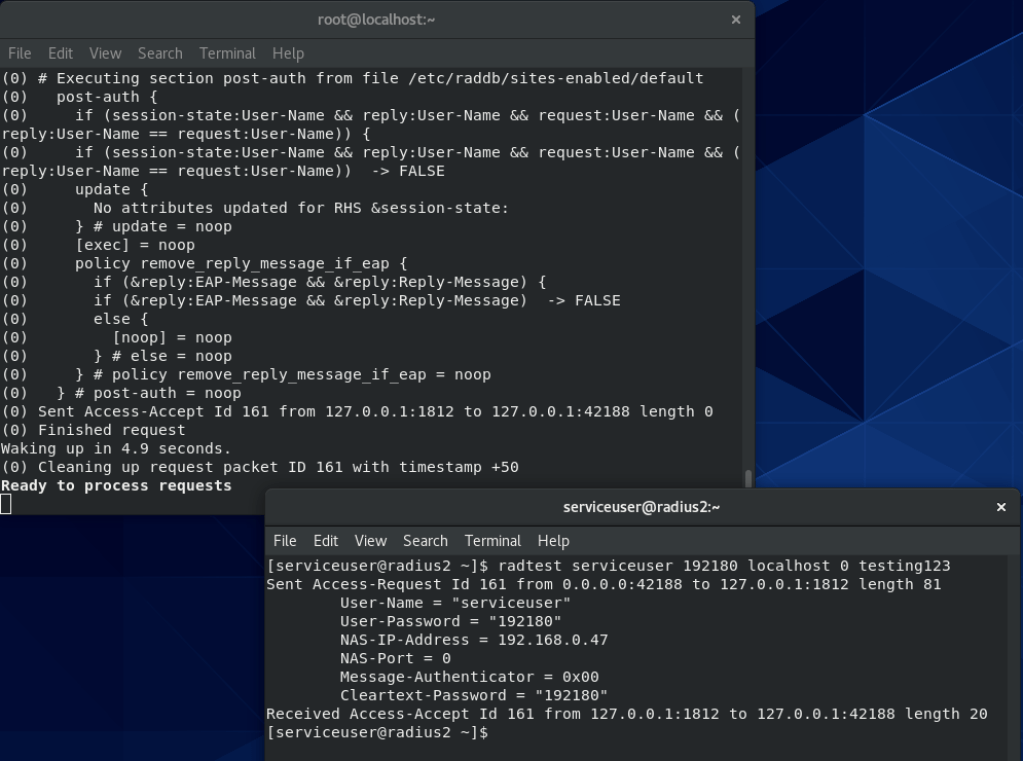
The same way, if you see “Received Access-Accept” is means your configuration is done.
Last but not the least: Firewall
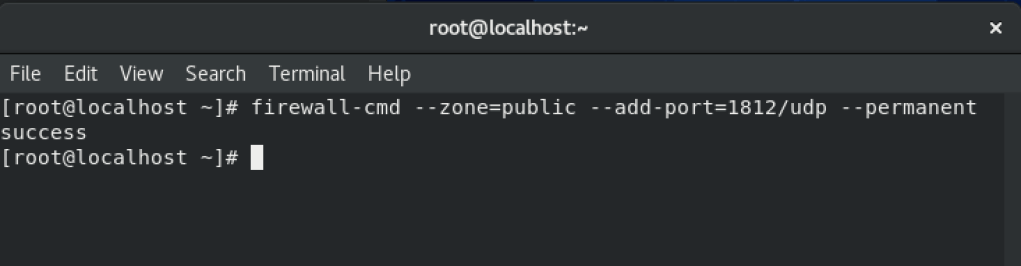
In my case, I had a hard time Firewall not allowing my servers to communicate with RADIUS so, I ended up configuring Firewall to allow 1812 UDP port to make it work:
firewall-cmd –zone=public –ad-port=1812/udp –permanent
Reload your Firewall with the changes you’ve made:
firewall-cmd –reload

That’s it for this Part I of this Blog series.
Stay tune to the following configuration and test using Workspace ONE Access using this following Post.
Enjoy the Ride.

1 comments on “Integrating Workspace ONE Access with Google Authenticator (RADIUS) – Part I”