In some cases, customers need to allow or block determined devices when user trying to connect a usb thumb drive into Virtual Machine or Application Virtualization.
This is a tradicional question which I receive from lots of people. This post will explain how is the best way to configure simple tasks to allow/block USB devices or allow/block determined devices based on PID / VID.
Easy Configuration
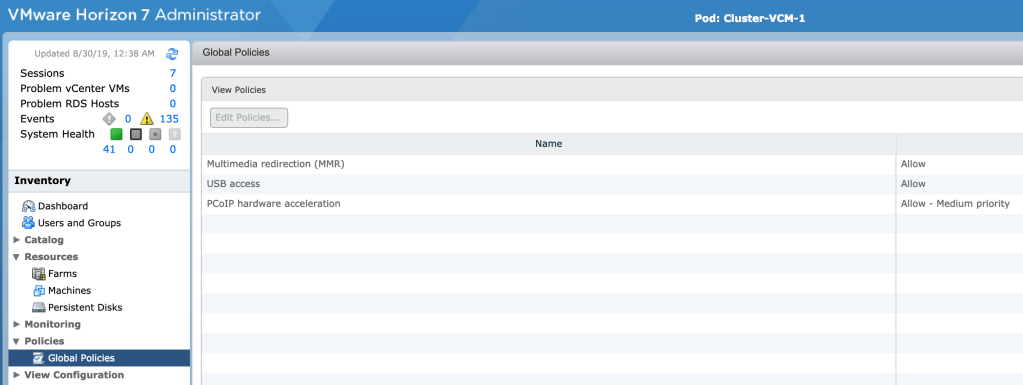
When you are logged into View Connection Server (broker), you can see on the left side of the console, an option called Policies – Global Policies.
This option allow you to set USB Access to Allow / Deny in a global way, which means, all desktop pools and application farms will be denied USB Access.
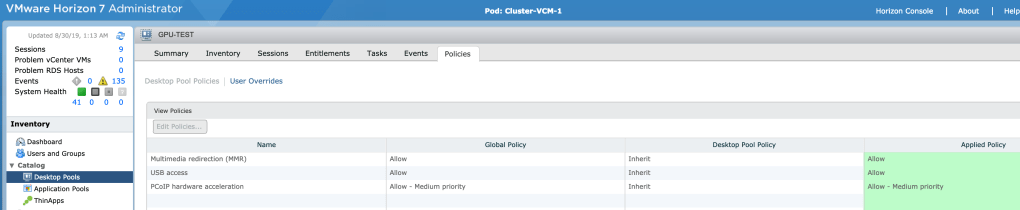
You have another option to block USB Access when you are under Desktop Pool or RDSH Pool. Opening the VDI Pool below, you can see a tab called Policies, which show us the specific configuration for this Pool only.
The Specific Configuration
In some cases, customer has specific requests which needs to allow some family types of devices (e.g: Mass Storage) or specific product to be used into VDI / RDSH access.
When this kind of request came by, my questions are always the follow ones:
- Which devices do you want your users to have access to?
- Are they equal or a sort of them are?
- Why do you need this kind of device?
- Is this important for your use case?
These questions are not blockers questions. My intention is to explore the use cases why you need to use and if the application is already installed into VDI or published into RDSH.
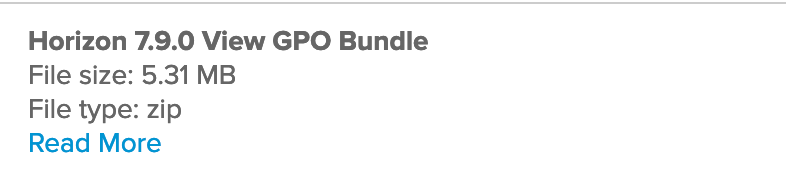
When we have those answers cleared defined, it’s time to start configuring our Active Directory to create an OU (Organizational Unit) using VMware Horizon Administrative Templates, downloaded from https://my.vmware.com/web/vmware/downloads.
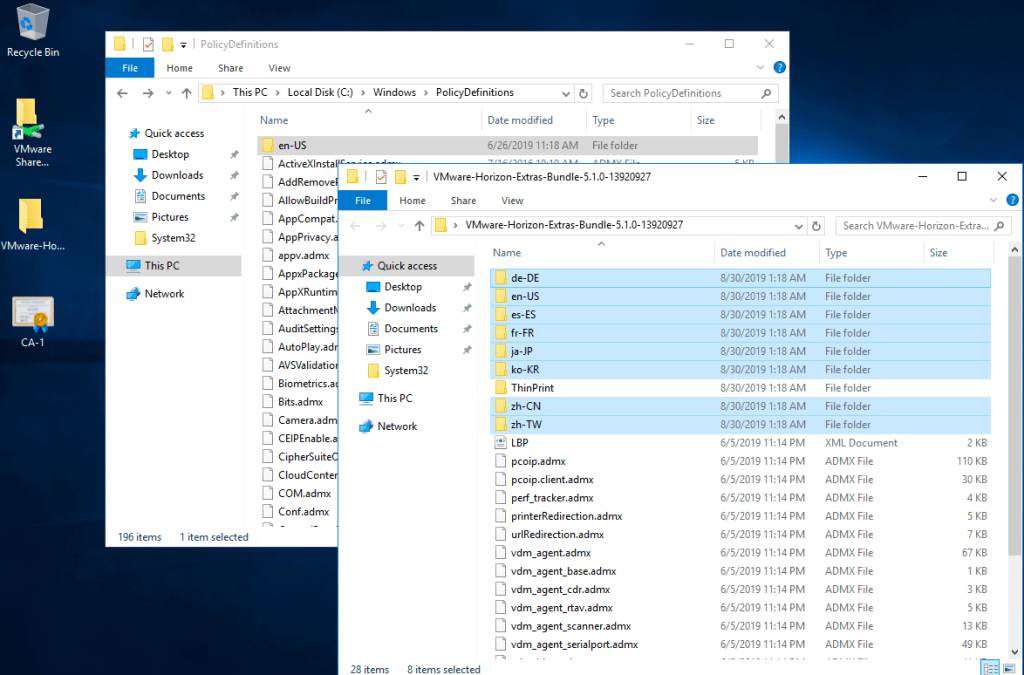
When you download the ZIP file, you can see the following ADMX files right after you unzip this folder:
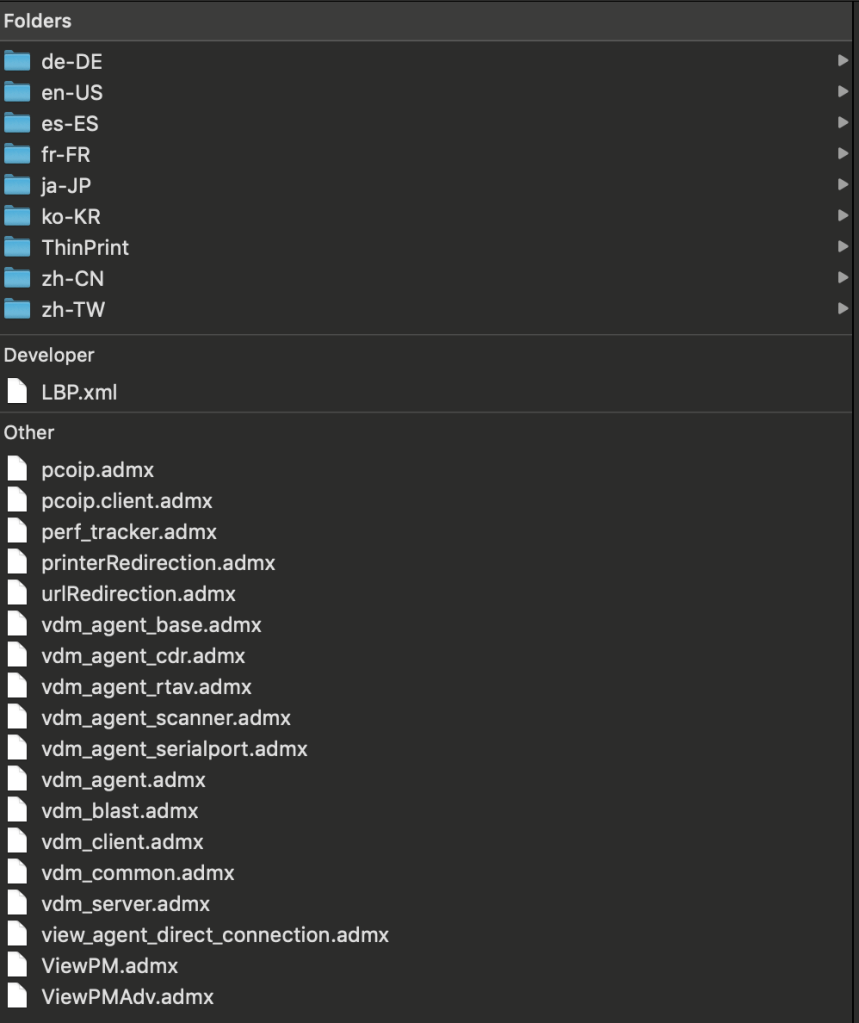
All .ADMX files need to be copied into your Active Directory , under C:\Windows\PolicyDefinitions folder.
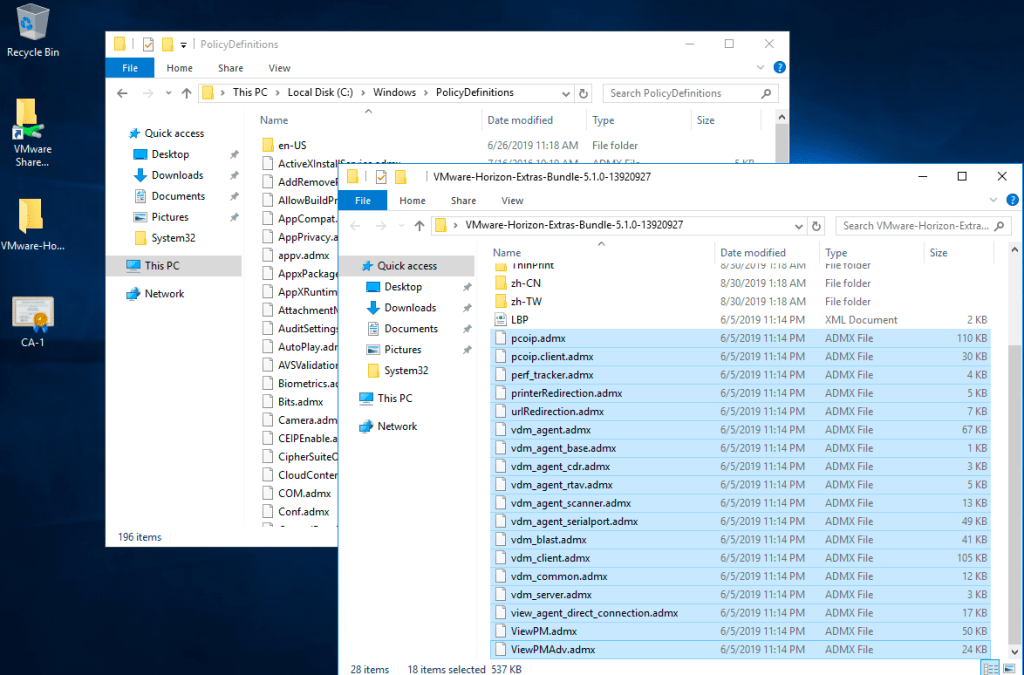
All .ADML files (which are inside the folder en-US or es-ES, needs to be copied into C:\Windows\PolicyDefinitions\en-US folder structure.
Note: Copy the whole folder into this address. All folders are related to locale version and used idioms.
When you are creating a new OU and editing the Policy, this will be information you have it now after uploading the .ADMX e .ADML files.
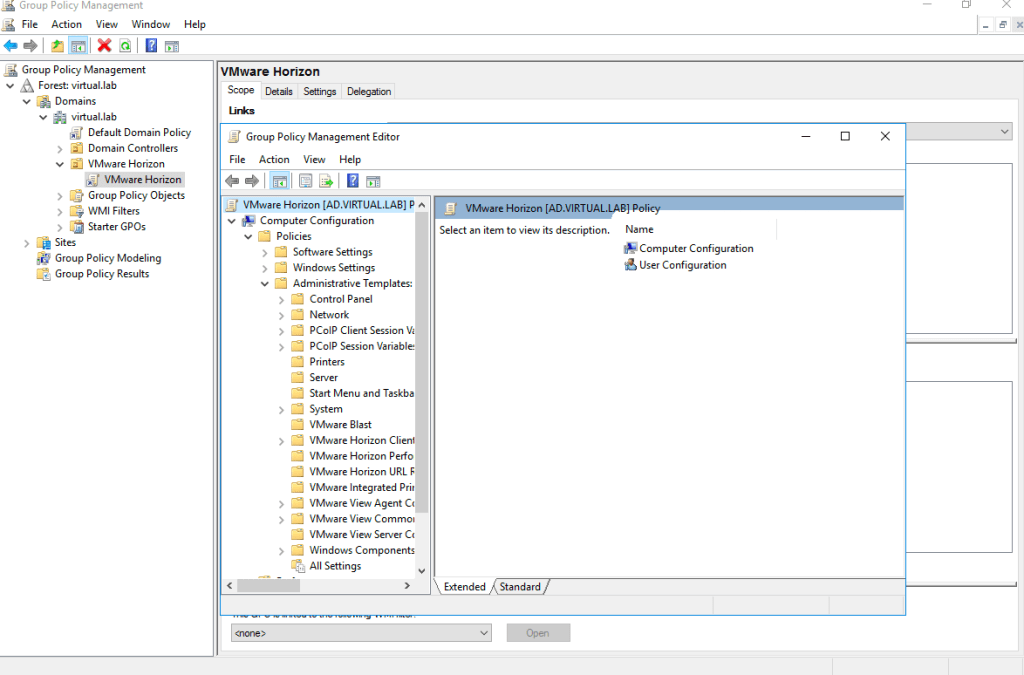
Configuration will be done into VMware Horizon Client Configuration – View USB Configuration,under Computer Configuration.
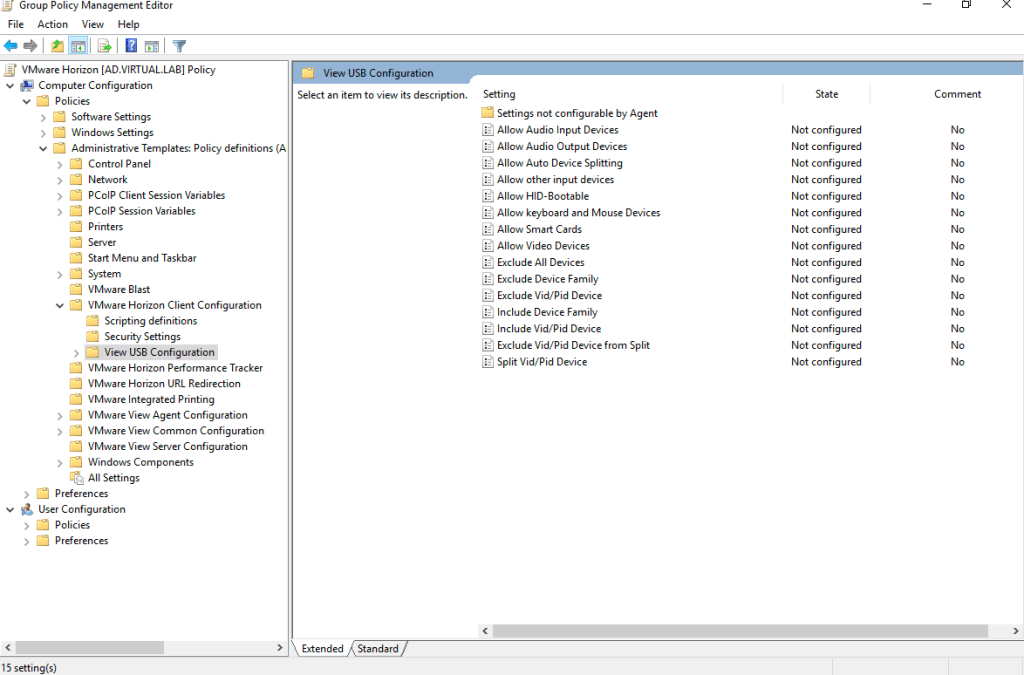
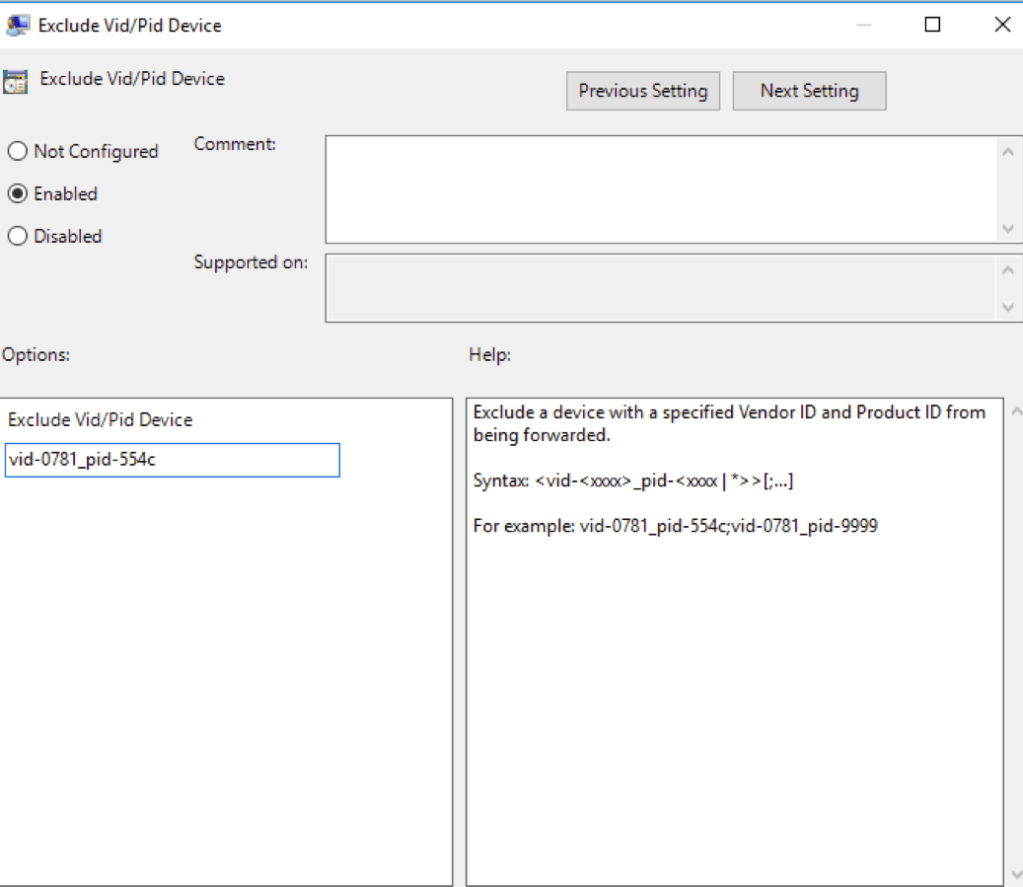
At this point, you need to check what is the VDI (Vendor ID) and PID (Product ID) to the related device you need to configure.
E.g.: VID: 0781 and PID: 544c
To know how to get this information, check it out using Device Manager into your Windows Client or Windows Server. Check the screenshot below:

For the Use Case I worked with, my customer would like to exclude the following device. So my configuration was the following:
The VDI os RDSH needs to be rebooted or gpupdate /force into command line to force to get the news policies for your teste.
