A customer brought up a situation in which an image process took too much time on customization and ended up with a “Customization Timed Out error” on VMware Horizon. This situation only occurred when this customer created a Windows 11 Full Clone virtual machine.
If you’re struggling with the same problem from your end, let’s check out how to solve this situation:

Create a Windows 11 image
First things first, you’ll need to create your Windows 11 image the way Microsoft supports it and how VMware documented it as well. I created a blog post to help you on this journey way back. Check it out here.
Installation Steps (Apps / Windows Update, etc) and SysPrep
When you have your image done with all necessary Apps and Windows Updates, it’s time for an important step to check whether your Windows is ready for the image process: SysPrep.
Windows SysPrep is a method to generalize the image and, remove computer-specific information like installed drivers and generate a new Security Identifier (SID).
This step is important to understand whether your image might has problems t0 run a SysPrep or not. When I was creating this blog post, a Language Experience upgrade made my SysPrep fail, like the screenshot below from setuperr file (located in to \Windows\System32\Sysprep\Panther):

In this case, I needed to go back to my previous post and configure my image properly (post in here ).
Enter Audit Mode
When your virtual machine goes back to the configuration page (likewise my screenshot below), you’ll need to press CRTL + SHIFT + F3 to enter AUDIT MODE.
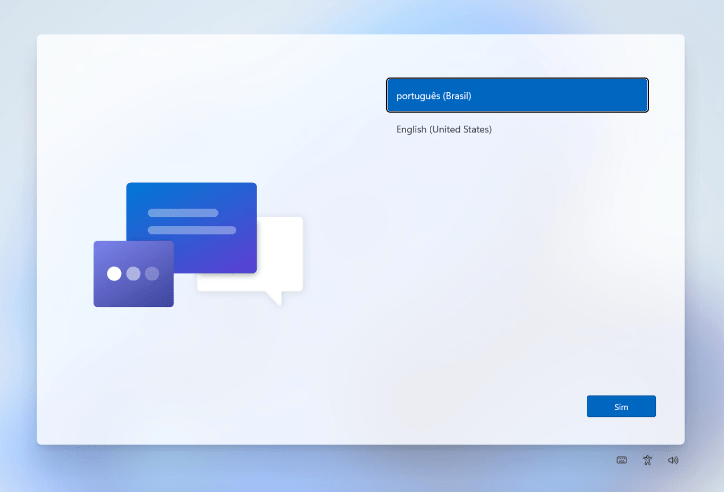
A moment screen will appear

The SysPrep screen will pop up again but this time, let’s only cancel it, ok?

You can turn off your virtual machine at this moment.
Sysprep is working, so what’s Next?
Now that you’re sure SysPrep is working, it’s time to clone your virtual machine into a Template and let’s work on creating a vSphere Customization along with a VMware Horizon Full Clone Pool.

Note that I did not select Automatically logon as Administrator.
On VMware Horizon side, under Guest Customization tab, select your domain and select your AD Container along with the option Use the customization specification and also Allow Reuse of Existing Computer Accounts, to avoid surprises during Virtual Machines creations.

If you follow all the steps, you’ll see your virtual machine created flawlessly.

I wish this can help you, in case this is your use case.
Thanks and enjoy the ride!
